
Build
Build is a Scratch-style, block-based builder for reinforcement-learning environments. Snap blocks together, describe each in plain language, and ship a real environment you can run and train on. No code, JSON, or CLI.
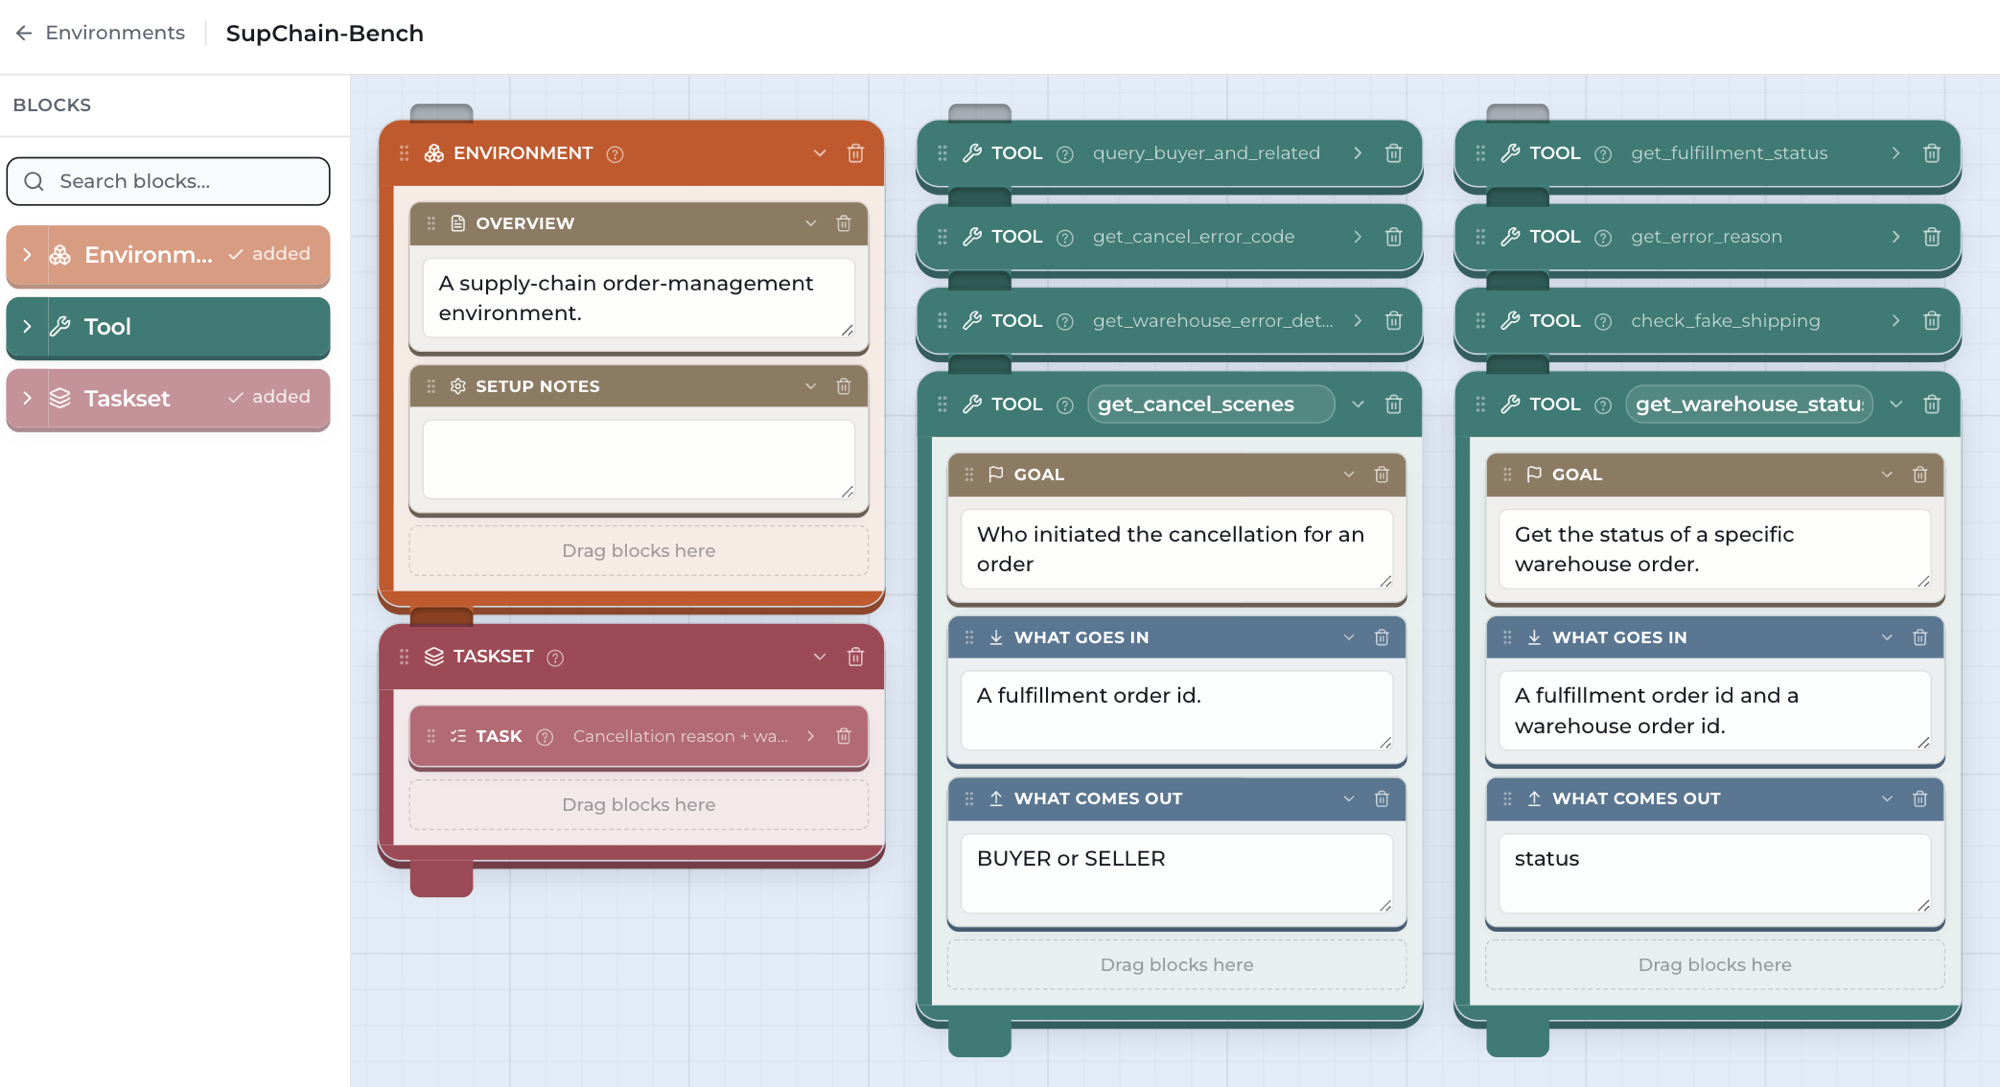
A good RL environment is hard to write and easy to get subtly wrong. Build turns authoring into something you can see and reason about: every part of the environment is a labelled block, and the whole thing reads like a description rather than a config file. Under the hood, those blocks compile to real HUD environment code, but no one has to touch it.
Build took first place at the HUD × Y Combinator Frontier/RL RSI Environments Hackathon, where it was built and demoed end to end.
Four blocks, nested to any depth
Environment
The world the agent works in: the setting, the data it can touch, and the rules of the game.
Tool
A function the agent can call. Give it a goal, its inputs, and what it returns, all in plain language.
Task
A prompt plus a rubric: Good and Bad answers nested in a Scoring block that becomes the reward signal.
Train
How the policy learns. Left on auto, a model picks a fitting RL framework for the environment you built.
From blank canvas to a trained policy
Start from a template or a blank canvas
Open Build and either start a new environment or fork one of the ready-made templates: SupChain-Bench, Wordle Solver, Math Word Problems, or Support Ticket Triage. Templates are complete, runnable environments, so you can see how a finished one is wired before changing anything.
Snap blocks together and describe each in plain language
Drag blocks out of the tray and snap detail blocks into them. Build enforces what can nest where, so a Good answer only ever lands inside a Scoring block and a Tool's inputs land on the Tool. Dragging a block out pre-includes the parts it always needs, so a Task arrives with a Question and a Scoring block already in place.
Everything is described in words, not code: a tool's goal, its inputs and returns, a task's prompt, the answers that should score well or poorly. That plain-language description is the entire specification.
Check it
Before building anything, run Check it. It reads the live environment and returns a friendly checklist of what still needs fixing (missing pieces, empty rubrics, tools nothing references), separated into errors that block a build and warnings worth a look. Nothing is generated yet; it just tells you whether the environment is ready.
Build it: compile and deploy to HUD
Hit Build it and the blocks compile into a real HUD reinforcement-learning environment (the tools, the task prompts, and the rubric-based reward) and deploy. A live modal tracks the compile and container build; the occasional generation hiccup is retried automatically rather than handed back to you.
Run a baseline, then train
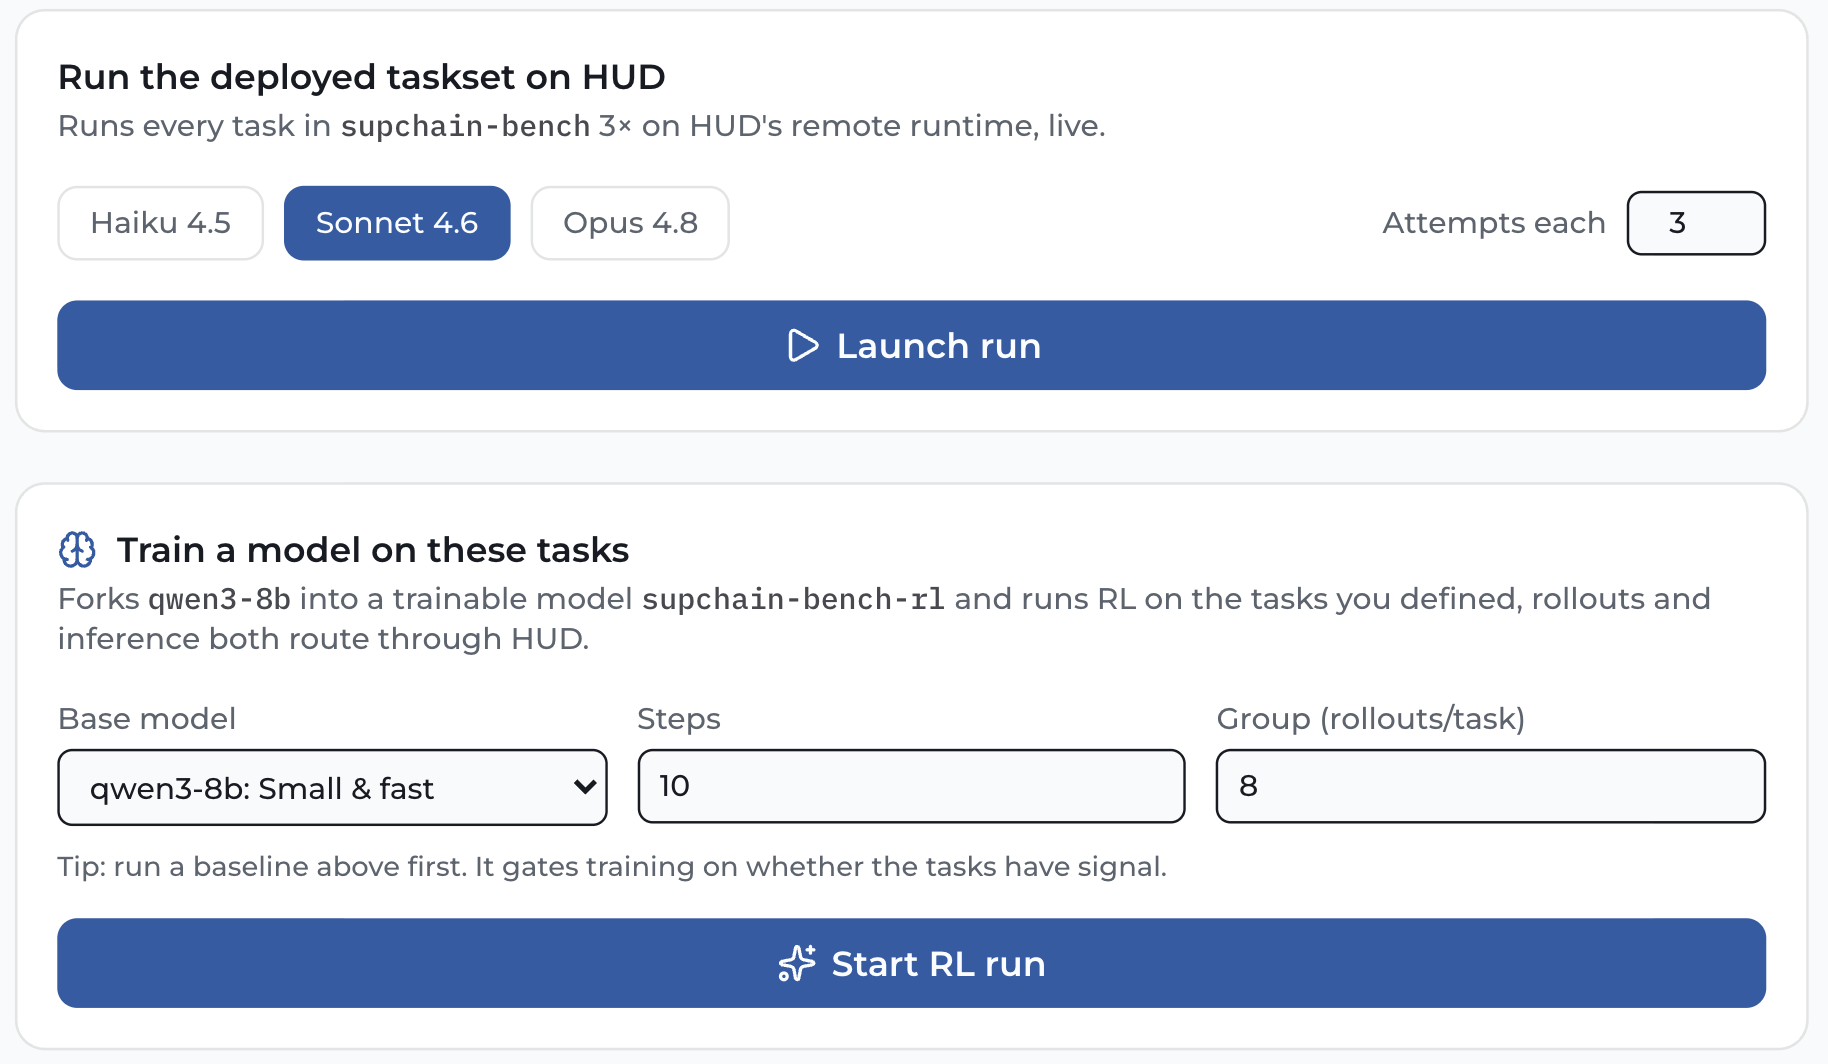
With the environment live, run every task on HUD across a spanning set of models (Haiku 4.5, Sonnet 4.6, and Opus 4.8), with a few attempts each. The results tell you whether the environment is any good: solvable (a strong model can actually do it) and discriminating (it separates weak models from strong ones). Once it's both, fork a base model from the same screen and start an RL run against the reward you described in blocks, closing the loop from a plain-language idea to a measurably better model.
Blocks become a canonical spec, then real code
Every block tree projects into a normalized intermediate representation: the canonical description of the environment. That representation is what gets checked, compiled to HUD SDK code, and deployed. Because the spec is consistent and human-readable, the same environment is auditable by a person and buildable by a machine, with nothing lost in translation.